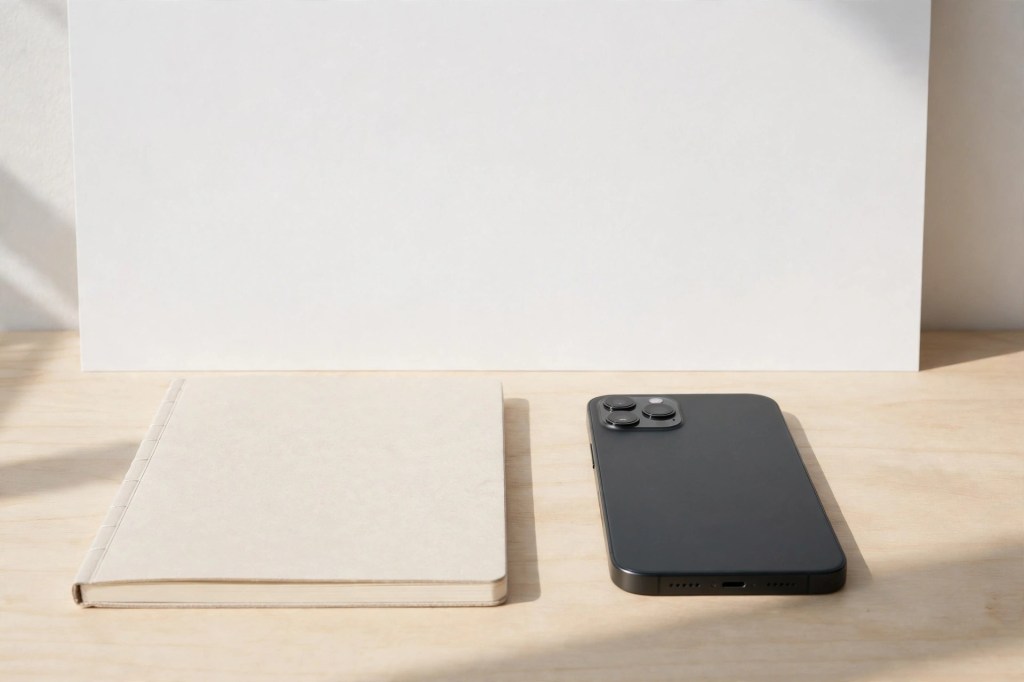
You do not need a camera, a studio, or a photography course to sell digital products. You need a phone, a window, and five minutes.
Buyers can’t touch your product before they buy it. Photos are the closest they get. Good photos don’t just look nice — they answer the buyer’s real question: “What am I actually getting?”
Your Phone Is Enough
Your phone is enough.
Modern phone cameras are better than the professional cameras of ten years ago. The thing holding most product photos back isn’t the camera. It’s the light, the background, and the clutter.
Don’t buy gear. Fix those three things first, and your photos will already look better than most listings.
Light Is Everything
Light matters more than gear.
Stand near a window in the daytime. Face the light — product between you and the window is a silhouette, so put the window to your side or behind you. No harsh overhead lights, no yellow lamp glow, no flash. Flash flattens everything and makes it look cheap.
Overcast days are actually perfect. Soft, even light, no harsh shadows. If the sun is blasting in, step back from the window a little. Soft light is your best friend.

Keep the Background Boring
A white poster board, a plain bedsheet, a clean table — that’s a studio.
Clean beats fancy, every time.
Remove everything that isn’t the product. No laundry in the background. No random cords. No half-eaten lunch. One product, one plain background, and the buyer’s eye goes exactly where you want it.
If you’re showing a printable, print one page and photograph the real thing — buyers trust a real photo more than a flat digital mockup. A printed page in someone’s hand looks real because it is real.
Show It in Use, Not Just on a Shelf
One straight-on shot isn’t enough. Take three:
- The product itself, clean and straight.
- The product in use — a hand holding it, a page filled in, a planner open on a desk.
- A close-up of the best detail — the layout, the colors, the part you’re proudest of.
Show it in use, not just on a shelf.
Buyers imagine themselves using it. A planner open on a real desk does that. A floating image on a white background doesn’t.
Edit Lightly
After you shoot, do two things and stop: straighten the photo, and brighten it slightly if it’s dark. That’s it.
Don’t filter it into a different color. Don’t add text all over it. Don’t blur the background into oblivion. The photo should look like the product, because the product is what’s arriving — not the photo.
You Don’t Have to Figure This Out Alone
I created Digital Products Academy as a free course and community for beginners who want to learn this stuff properly — what to sell, how to show it, how to get your first sales, all of it. Thousands of people are already inside learning and building their businesses together.
Final Thoughts
Phone, window, plain background. Show it in use. Edit lightly.
You might be surprised by what’s possible once your photos start doing the convincing for you.



Leave a Reply